Bunker
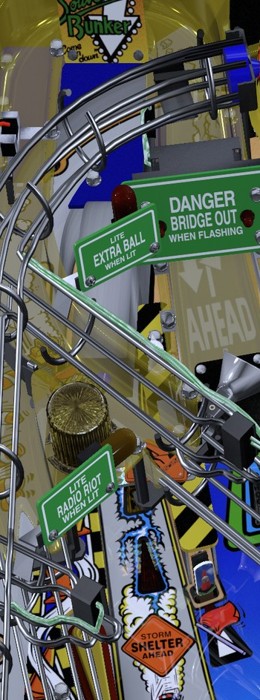

Williams · 1994
Take Red and Ted across America, build your bonus, and reach Super Payday on the West Coast.
Travel west by earning miles and starting city scenes. Seattle, San Francisco, or Los Angeles can qualify Super Payday; visiting all eighteen cities is optional.
Think in two tracks: keep the journey moving, and make each ball valuable before it ends. Choose one immediate task when you catch the ball. A flashing city start, a lock, and a bonus opportunity can all look urgent; decide which one you intend to collect before releasing.
Start City begins lit. Later scenes normally need 400 miles. Shoot the lit City scoop or Blast Hole. Starting records the visit; drains end scenes. Blast count persists. Colored targets and bumpers change the selection. Visited cities and souvenirs persist between balls.
Watch the display after a scoop capture. It tells you whether you entered the scene you wanted or collected a different award. Don't keep attempting a city start while its qualifying light is dark. Detailed travel rules.

Find each entrance on this render of your installed table. Select the playfield to enlarge it. Shot approaches below are practice suggestions; cabinet feeds have not been playtested.

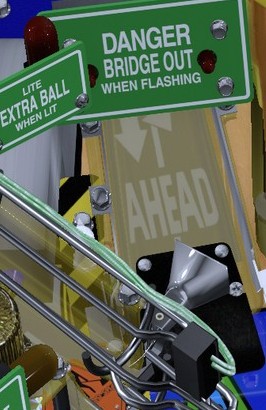
Ramp immediately left of Ted. A right-flipper forehand is the starting attempt; watch for a rollback if the ball falls short.

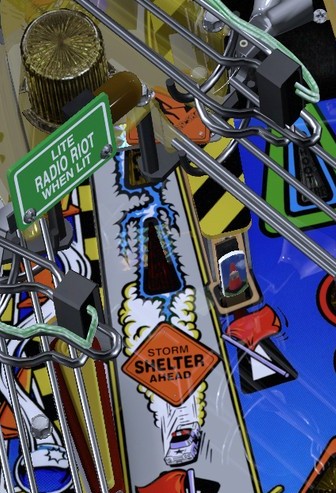

Ted is the left head. The striped blade sits under his mouth. Shoot the blade to advance workdays; when instructed and open, aim into Ted’s mouth.
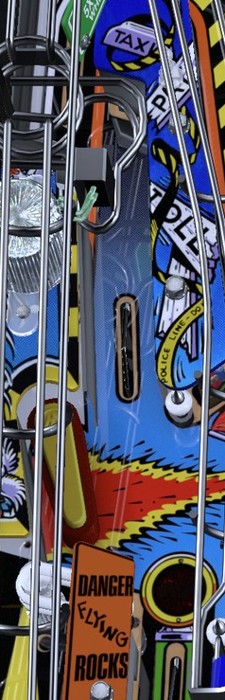
Left shooter lane and its exits. The lit Left ramp sends the ball here. Adjust the left-plunger strength for the indicated exit.
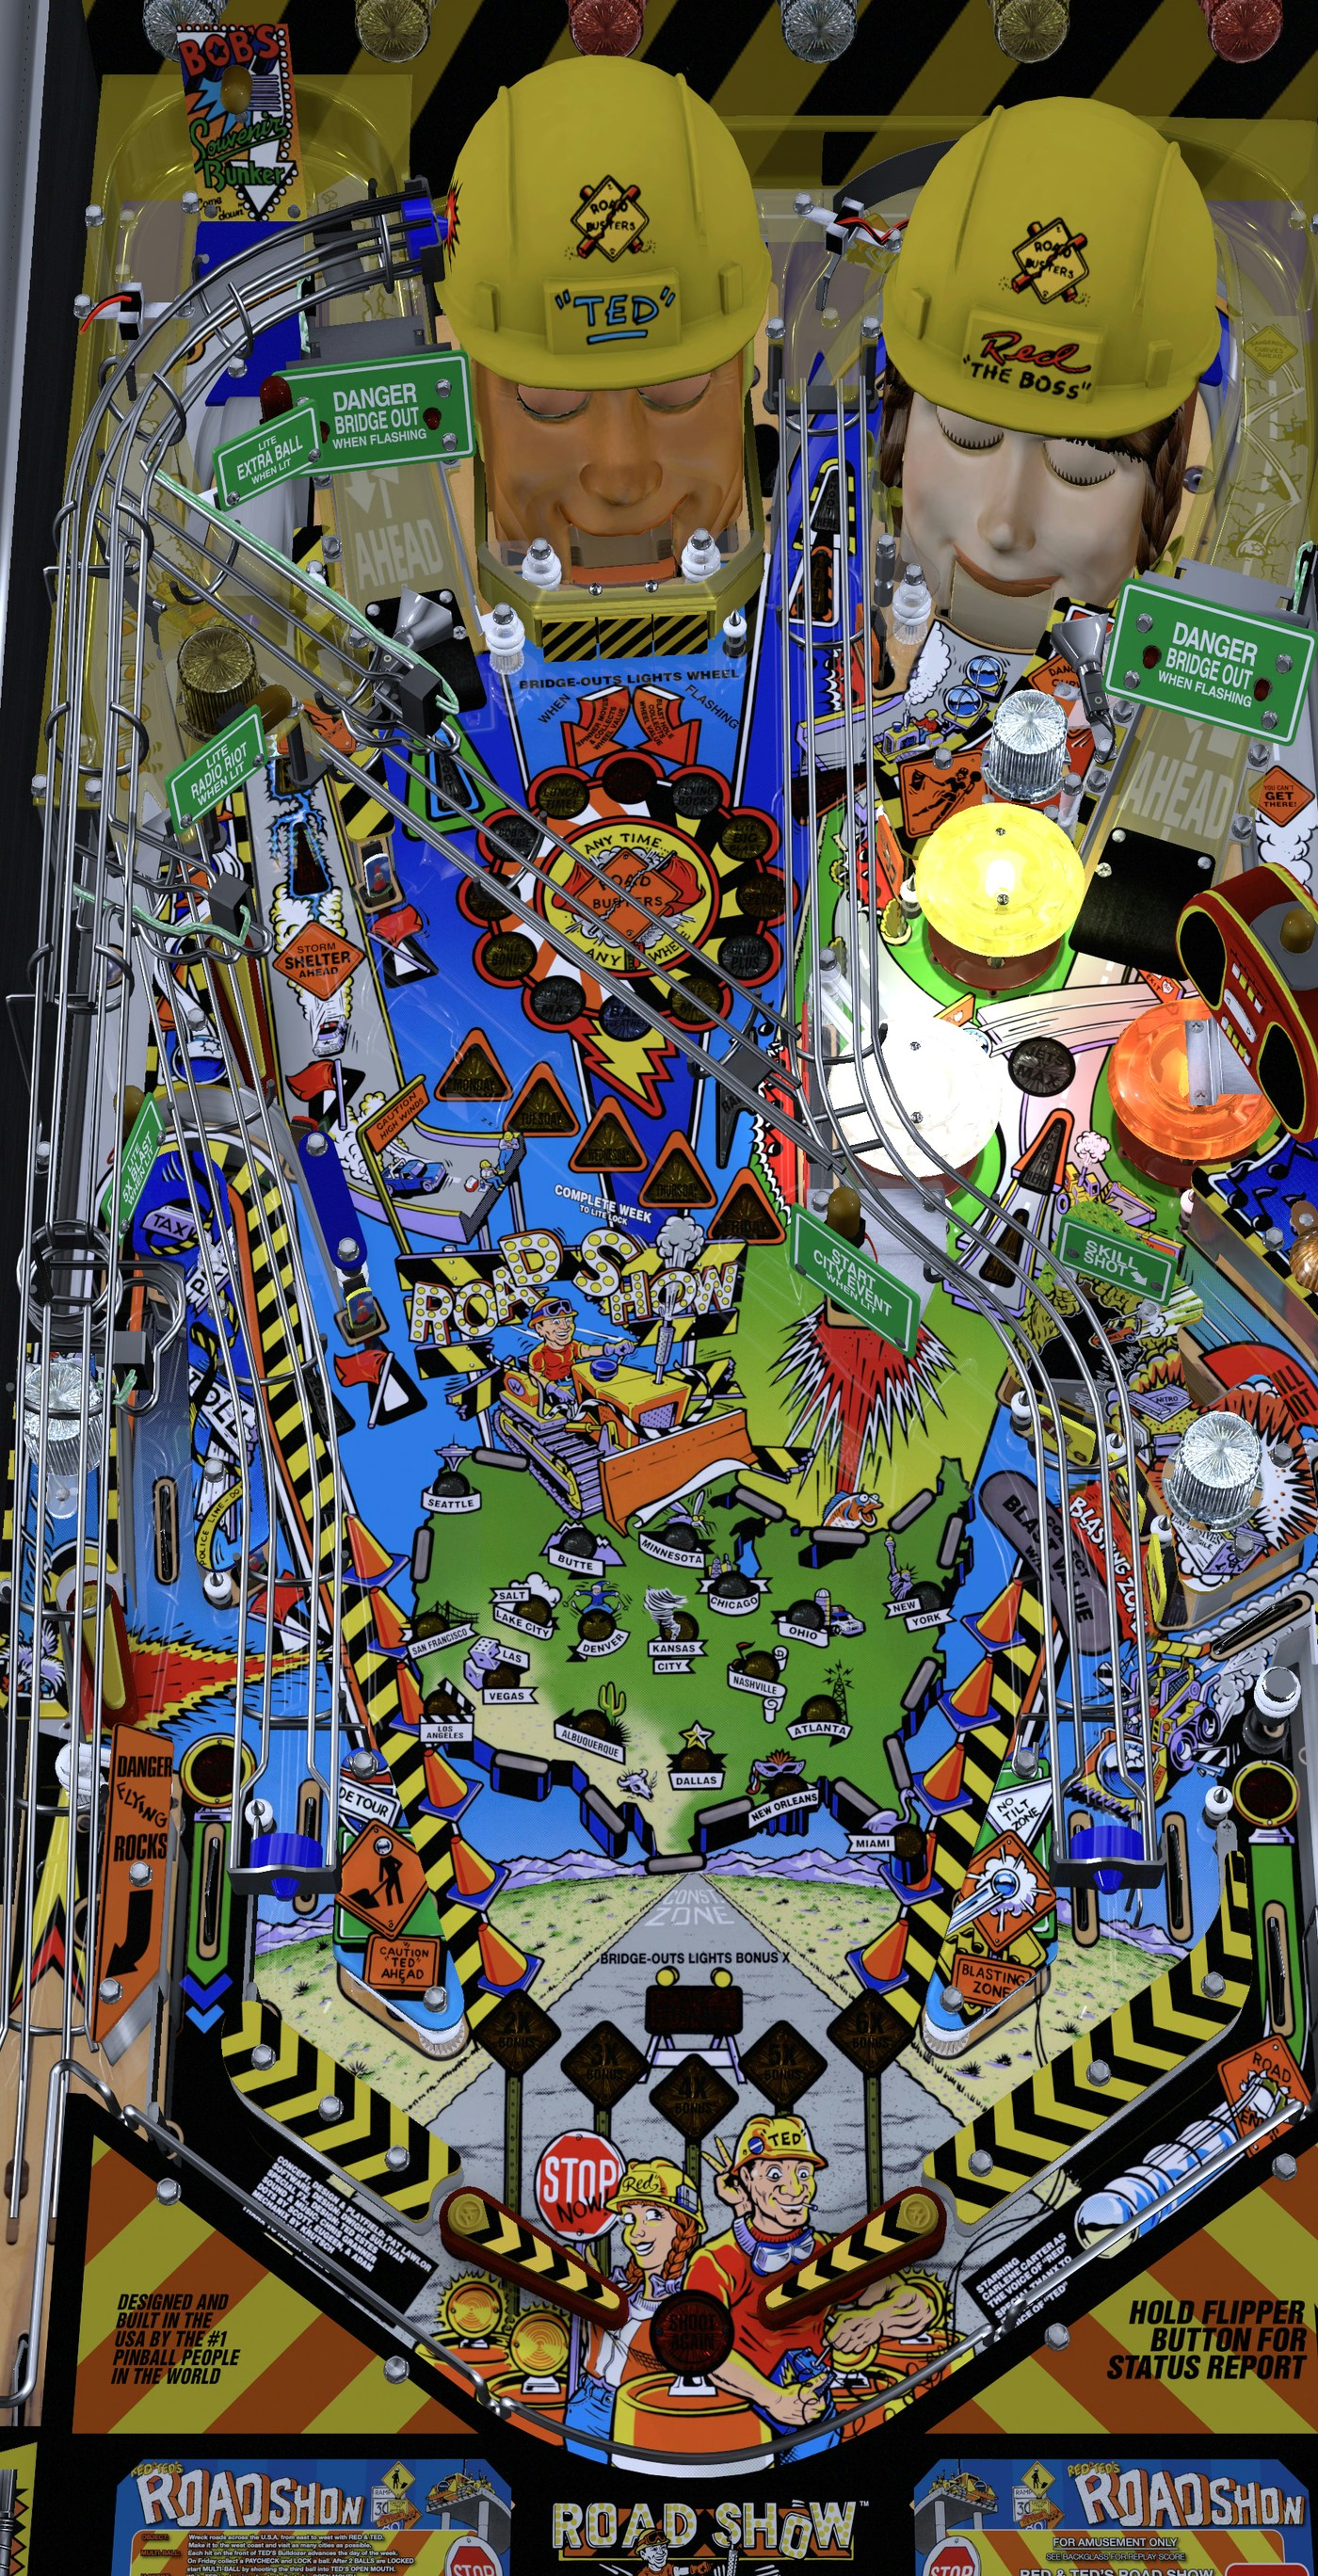
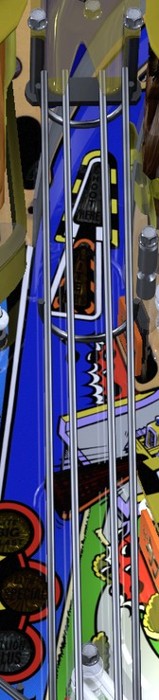


Ramp entrance among the right-side bumpers, beneath the BRIDGE OUT sign. Try a left-flipper forehand.
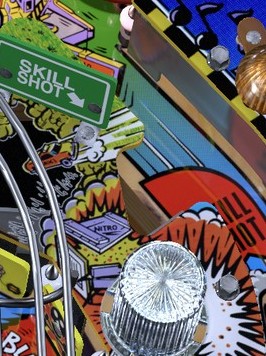


Return lanes beside the lower flippers. The inside-right lane lights Left ramp Bridge Out; the left lane lights Right ramp Bridge Out. Watch the short-lived ramp light.
A clean plunge directly into the Blast Hole earns the skill shot and normally a free souvenir.
Relaunches also qualify; a ready city can start on the skill shot.
A missed launch briefly lights Shooter Bypass at Left ramp.
Use the first launch as a calibration attempt. If the ball falls short of the hole, add strength next time; if it flies into the upper playfield, reduce it. Watch the actual landing instead of memorizing a percentage from another simulator.
This installed VPW script routes the regular plunger control to the left plunger when a ball arrives there; Left MagnaSave also controls it. The cabinet's physical button mapping and plunge strength still need play verification.
Three Blasts or the Wheel light Flying Rocks. Lit Left ramp feeds the left plunger: lower exit lights five-times Blast; middle awards Radio Riot at Radio targets; lit upper exit lights Extra Ball. Collect at Bunker. Center loop advances the exit award.
Read the exit lights before pulling. The useful launch is the one that reaches the award you selected. Afterward, find the live ball before looking back at the display. Flying Rocks illustrated guide.

Most scenes are timed; Nashville/Kansas City end at one ball; Albuquerque offers a sale. Afterward, travel again.
The Magic standup supplies scene-specific help: let the Bunker return fall past the upper flipper into the upward-facing target.
Read each entry as a next-shot instruction. On an unfamiliar scene, prioritize finding its target over forcing a rushed shot. The display is the authority for time remaining and which required shots are still missing.
Choose a manageable shot when several count. A repeatable ramp can be a better personal route than alternating sides under pressure. City objectives; PAPA demonstration.

Hits on the Bulldozer blade advance the weekdays. Friday lights a Bunker lock. Lock two balls, then shoot Ted's exposed mouth to start three-ball multiball. Collect at Ted, then hit Red to relight Ted's jackpot.
City scenes block weekday progress and normal locks. Later multiballs require relighting locks separately. At one ball, multiball ends; if you collected no jackpot, a twelve-second Bunker restart returns two-ball play.
Ted and Red pay alternating jackpots. The Bunker return can feed the upper flipper toward Red; try trapping the other balls before taking that shot.
Blade hits raise jackpot value before collection.
The reviewed rules document no general add-a-ball for regular multiball. Use the lit restart opportunity if eligible.
The installed L6 ROM pauses that restart timer during lockup animations, correcting an older-code problem.
Wait for Ted's mouth to be accessible. PAPA demonstrates trapping one ball while using the other for Ted, then taking the upper-flipper return toward Red.
Use that as an experiment, not a promised cabinet feed. Watch one clean return before attempting the combination. If the balls separate, track the lowest ball first. Rebuild control before looking up to see the score. Ted-to-Red demonstration; L6 corrections.
An inlane lights the opposite ramp's Bridge Out opportunity. Make that ramp while lit to advance bonus multiplier and light the Wheel. Bunker or Blast Hole collects the Wheel; the spinner changes its current award, whereas Blast Hole preserves the selection.
Wheel offers travel, souvenirs, scoring boosts, Hold Bonus, Extra Ball, Special, or Bad Weather. Collect Bad Weather at Bunker before city starts.
Look at the selected award before choosing a collector. If the shot has several jobs, read what actually happened afterward. A missed qualification can otherwise become several more attempts at an award that is no longer available.
Jets build Blast value. Blast Hole or Magic lights the Blast targets; Left loop feeds a two-times target collection, Right ramp's Bridge Out feeds three-times. Multipliers raise value, not the Blast counter.
Right ramp’s Bridge Out return to Blast Hole scores Super Blast, separate from multiplied target Blasts.
Distinguish the standup bank from the nearby hole before aiming. In practice, say the intended target to yourself: “targets” or “hole.” This is especially useful when the scene objective and the ordinary award use different collectors. Wheel and Blast details.
Hidden Construction Mania: during the Uranium Ore shop offer, quickly press both flippers, then play twenty seconds of all-switch scoring instead of purchasing.
Two normal locks or regular multiball block city starts.
City scenes and multiball block shopping; locks, Extra Ball, and Wheel collection take priority.
Souvenirs can make bonus multiplier a priority during multiball. A matching souvenir adds ten million before multiplier each time bonus counts; keeping useful matches can outweigh selling them.
A strong Miami score can pay again during Super Payday. Denver's repeatable ramp route can build multiplier while scoring the scene.
Pick combinations with compatible shots. Repeating a controlled feed lets you concentrate on timing; adding a second objective is useful only when you can still describe the next shot clearly. When a start fails, check its light before assuming the scoop missed your ball.
Starting city animations can consume ball-save time. Don't assume a returned ball still has protection merely because the scene introduction just finished.
The Wheel, Flying Rocks, and repeated Blasts offer Extra Ball routes.
Hold Bonus retains the multiplier, not the previous bonus points.
Advancing beyond six-times bonus lights Extra Ball once per game. Bonus multiplier resets between balls unless held.
Collect lit Extra Ball at Bunker. Souvenirs can also award it.
The Lead Pinball souvenir lights Extra Ball; Zinc and Gold grant it directly. Read the offered price before buying.
Separate qualification from collection. Look for the lit collector before taking another ambitious shot. Treat an extra ball as another opportunity to execute your plan, not permission to abandon control. Operator settings can change award behavior, so verify the display rather than relying on a remembered threshold.

During a coast scene, make two Bunker locks. For the demonstrated four-ball route, put both locks in Bunker and plunge the next ball cleanly into Blast Hole. Ramps and loops then repay earlier city scores.
Put the locks ahead of the coast scene's tempting scoring shots. Decide on the Bunker approach before releasing the ball. Once the first ball is stored, immediately find the second collector; this is a timed opportunity, not a permanent qualification.
Super Payday ends at one ball. There is no documented restart to rely on.
If the opportunity expires, resume the journey indicated by the map. Do not keep shooting a dark lock because the previous scene's graphics linger. A failed coast attempt is useful practice for the next approach. Coast locks and fourth-ball plunge.
After a miss, notice its direction: toward a flipper, across the slings, or toward an outlane. Adjust the next attempt from that observation. Don't assume a shot is safe because it scored; a successful award can still produce a dangerous return.
Practice catches and transfers on this installed table at a pace you can follow. When several balls are loose, locate the lowest one first. Use small, early corrections where possible and learn this cabinet's tilt response before relying on a forceful rescue.
The physical-machine video is useful for seeing decisions and sequences. Its feeds, plunger strength, staged-flipper behavior, and nudging are not proof of what this VPW build will do.
Right flipper accepts purchases or Albuquerque sales; left declines.
Selling useful matches gives up future bonus payments; an unmatched inventory or a late large offer can justify selling. Center loop lights Bunker shopping, where souvenirs can be bought.
One ten-million match at six times bonus is sixty million per bonus collection. Three such collections total 180 million. Compare that possible future with the immediate offer, then discount it for how many balls you realistically expect to finish. This is a decision aid, not a guarantee.
For an early practice game, prioritize repeatability. Once the main shots are familiar, compare three results: how often you reach the coast, how much your bonus contributes, and how often you convert a ready multiball. Improve the weakest part before chasing a spectacular single shot. Souvenir and bonus strategy discussion.

Written for Red & Ted's Road Show VPW 1.5.4 MOD VR, using rs_l6. Cabinet settings and live play remain unverified.