Left orbit
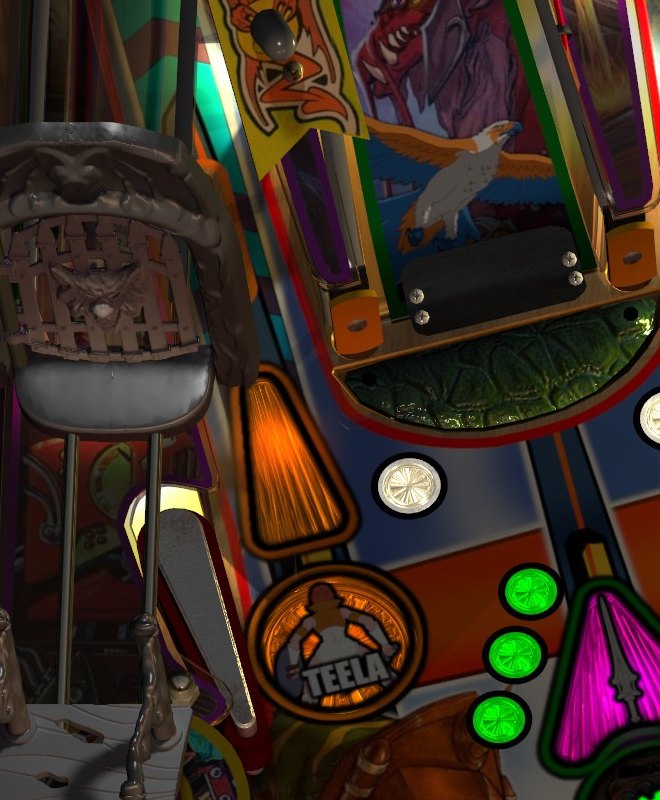
The outside lane on the far left, beside the orange arrow and Teela light. Try it from the right flipper. Repeated trips start Teela's Training and earn Mekaneck Mystery. The small upper left flipper sits just below this lane.
TerryRed · 2024 · Future Pinball
Collect all 46 toy awards to finish the game and earn one billion points. Win action figures, vehicles and playsets by completing challenges and making the shots described below.
Watch the toy counter on the score display. Each completed challenge, called a mode, awards one toy. You cannot replay a completed challenge during the same game. Collecting the 46th toy ends your game, even if you have balls left, and awards the Game Completed bonus.
Begin at the Castle ramp: make two shots to enable its choices (the default setting). Then select PLAYSETS below that ramp and make three more ramp shots for one toy. The three small round lights near the ramp entrance track those three shots; they are separate from the opening two hits.
When the orange Toggle Modes light is on, tap the plunger button to change the selected challenge. The light beside a challenge’s name shows which challenge is selected. Aim into the ramp or hole directly above that name. For example, when PLAYSETS is lit below the Castle ramp, shoot up the Castle ramp three times to win a playset.
The three small round lights at each entrance count those hits. If you lose a ball before starting the challenge, the hits carry over. If you start a challenge but fail to finish it, you must earn its three starting hits again.
Your choice of faction and character changes the artwork, not the rules.
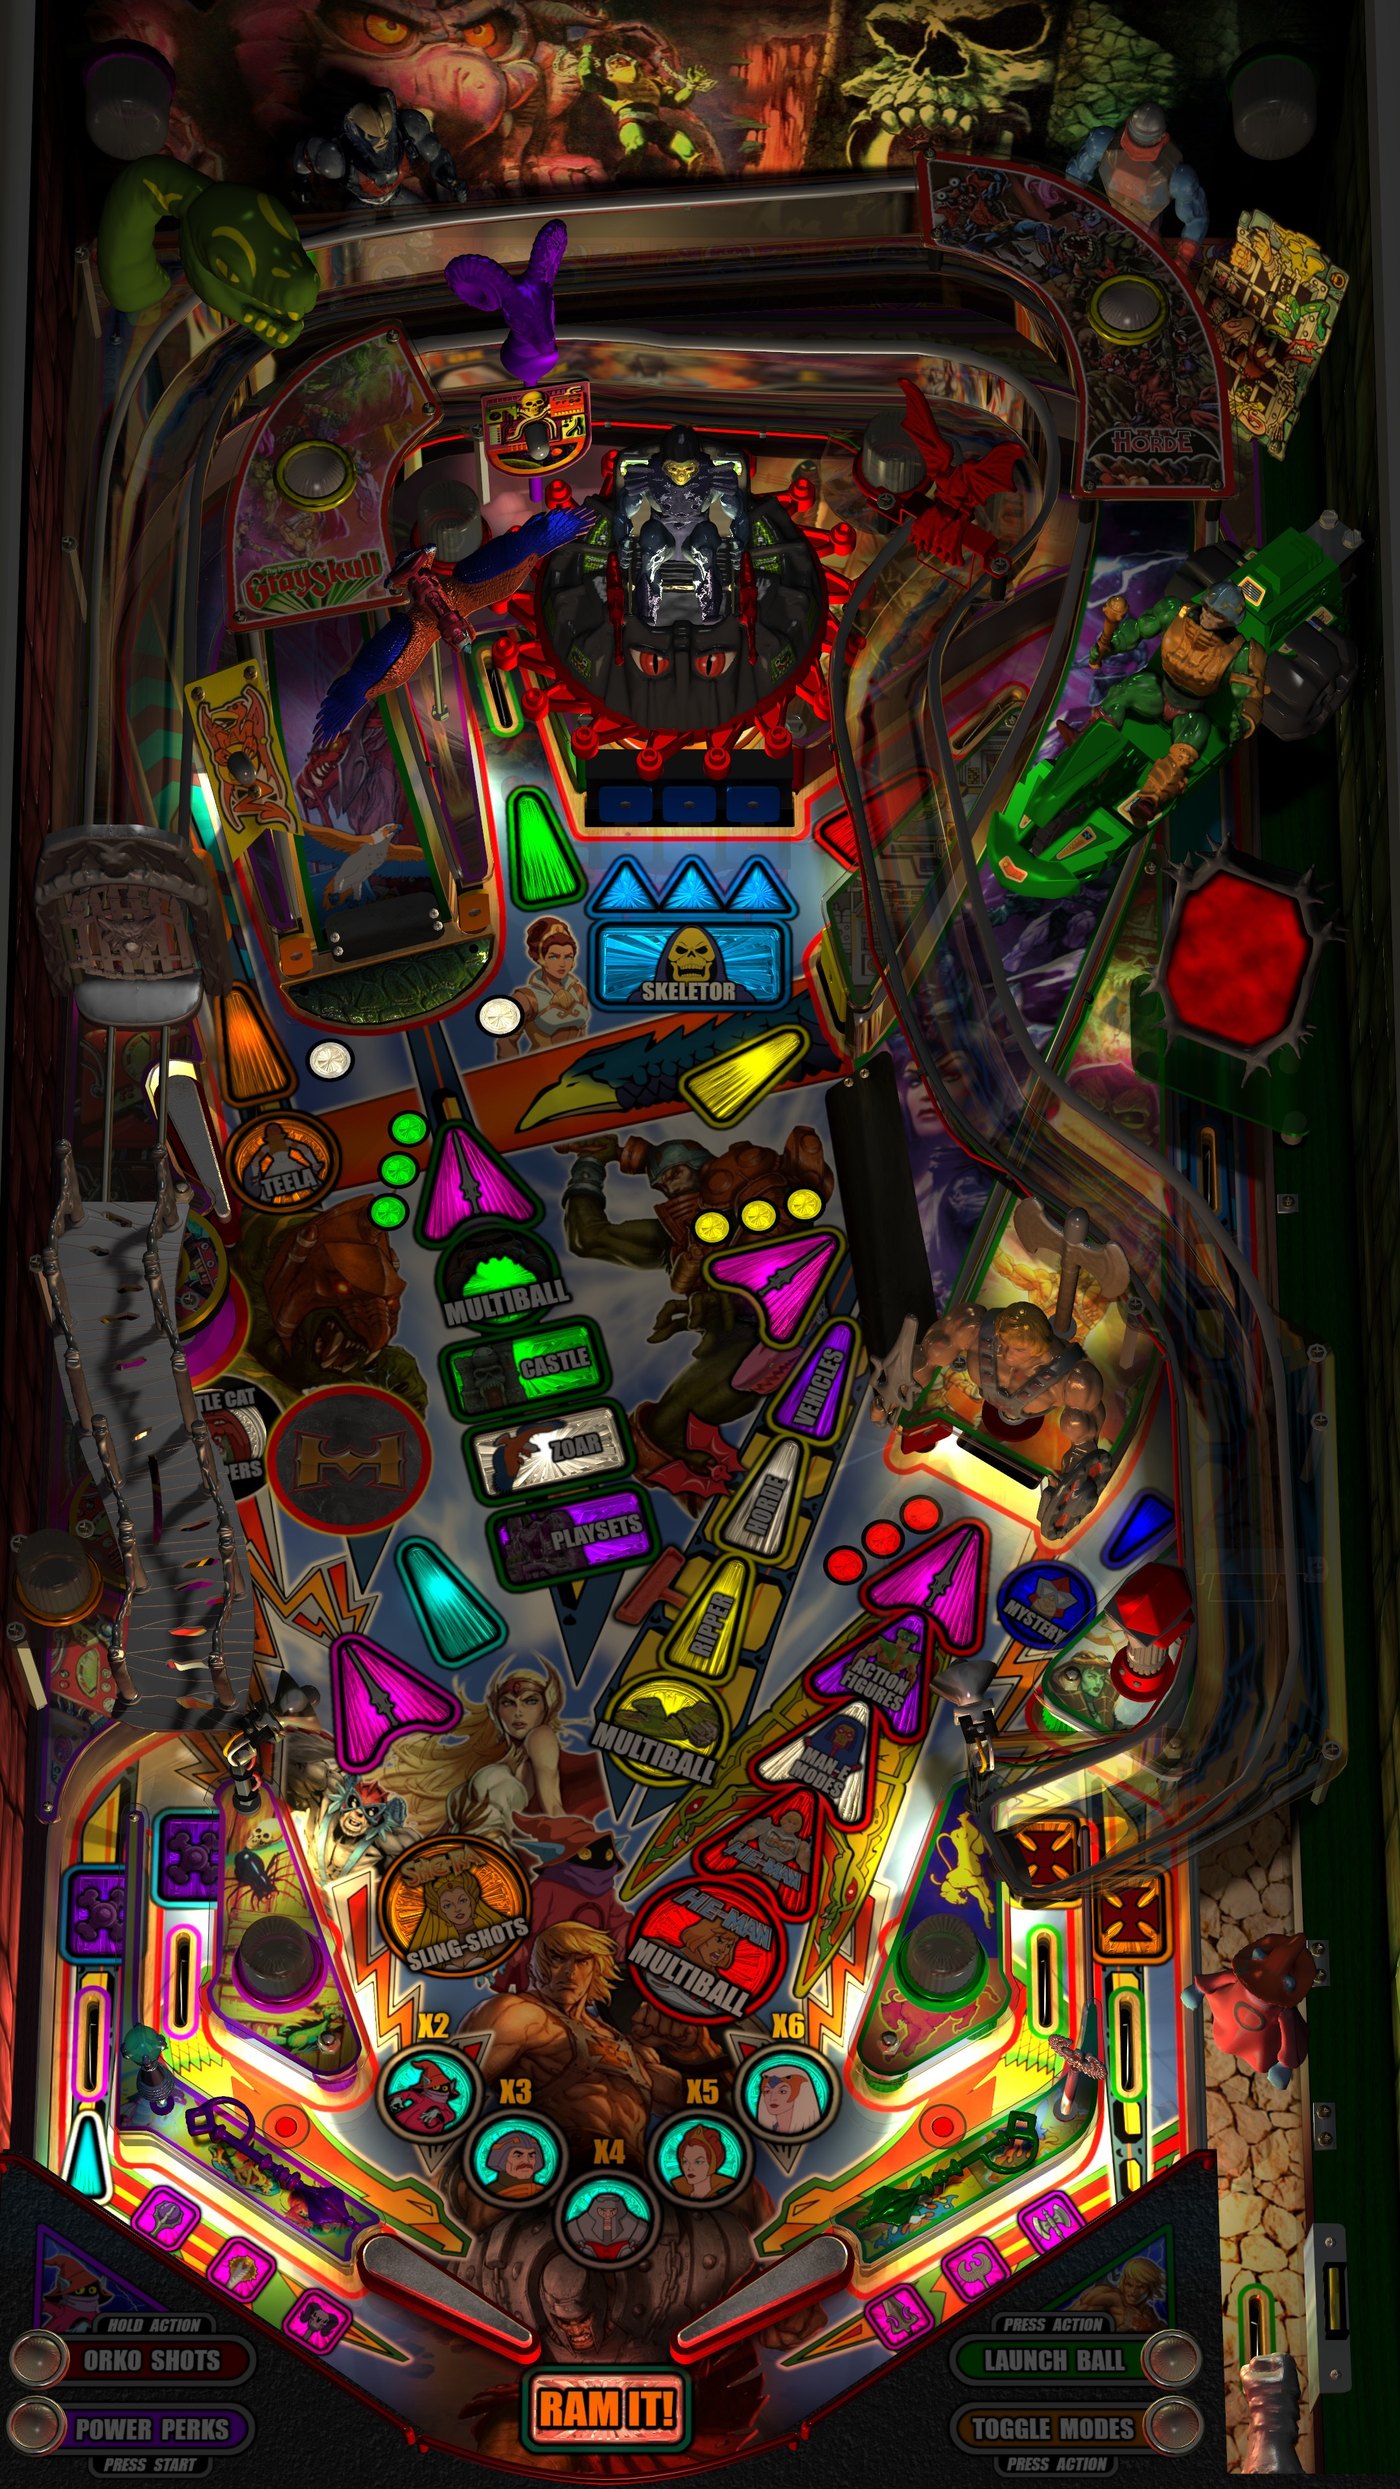
This is TerryRed's own picture of the table from above. The art changes with your faction; the shots do not move. Tap the playfield to open the full map.
The outside lane on the far left, beside the orange arrow and Teela light. Try it from the right flipper. Repeated trips start Teela's Training and earn Mekaneck Mystery. The small upper left flipper sits just below this lane.
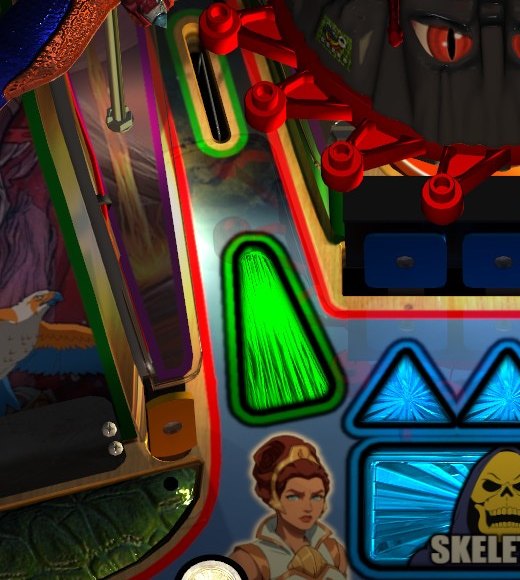
The narrow lane behind the green arrow, left of the Skeletor targets. Shoot here to change the challenge selected at the Castle ramp. This is also the second shot in the Evil-Lyn Loop Combo.
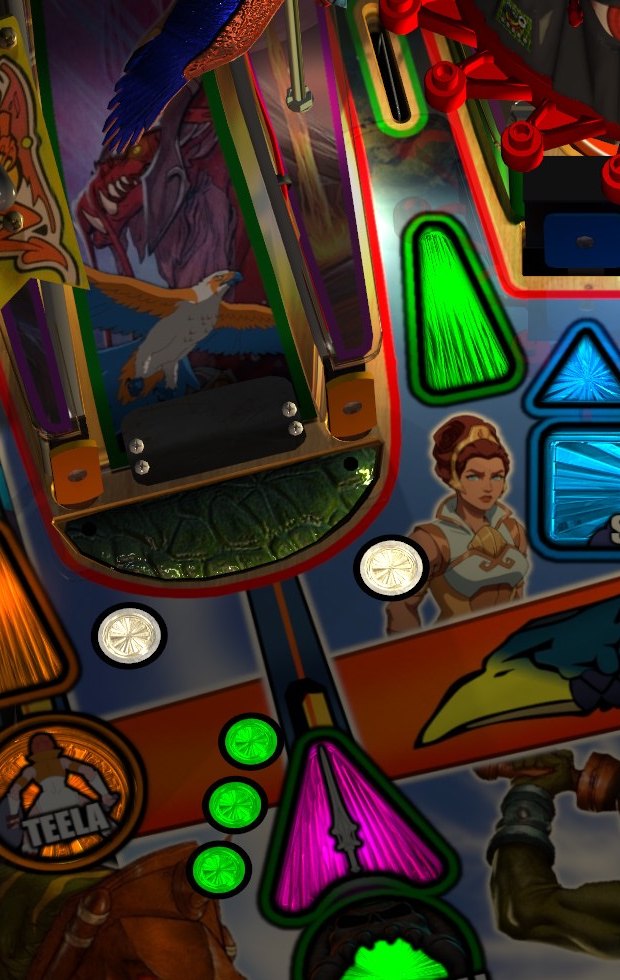
The wide entrance left of center, behind the pink arrow and three green lights. Try a cross-table shot from the right flipper. The Castle Grayskull toy rises in front of this entrance for some challenges. Hit both small targets beside the entrance to switch on the left kickback, which returns a ball from the outer lane.
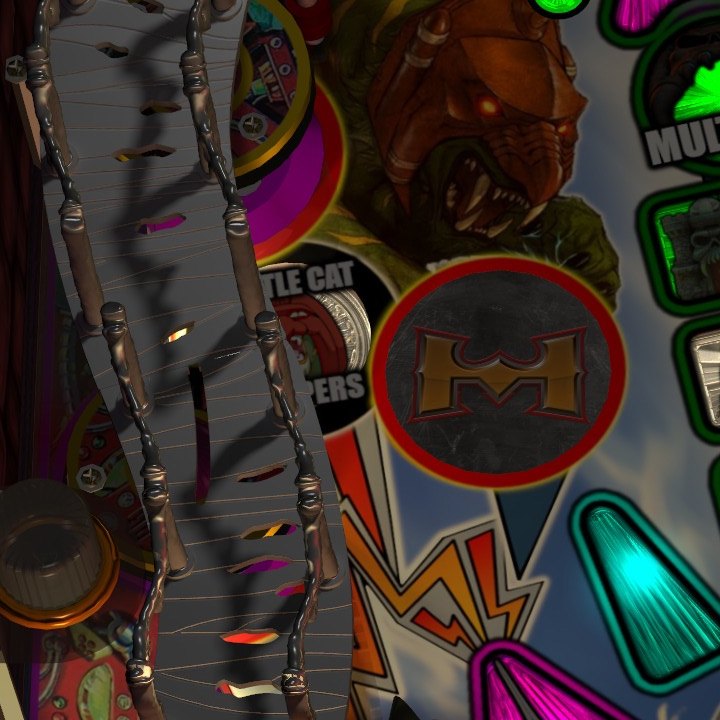
Two bumpers sit under the grey Snake Mountain bridge on the left. A third bumper or the BumperHead character toy can rise through the round disc beside them. During multiball, repeated bumper hits earn one of the four jackpots. During multiball, aim at the raised third bumper on that disc below the Castle ramp. Its retraction tells you the bumper jackpot is finished.
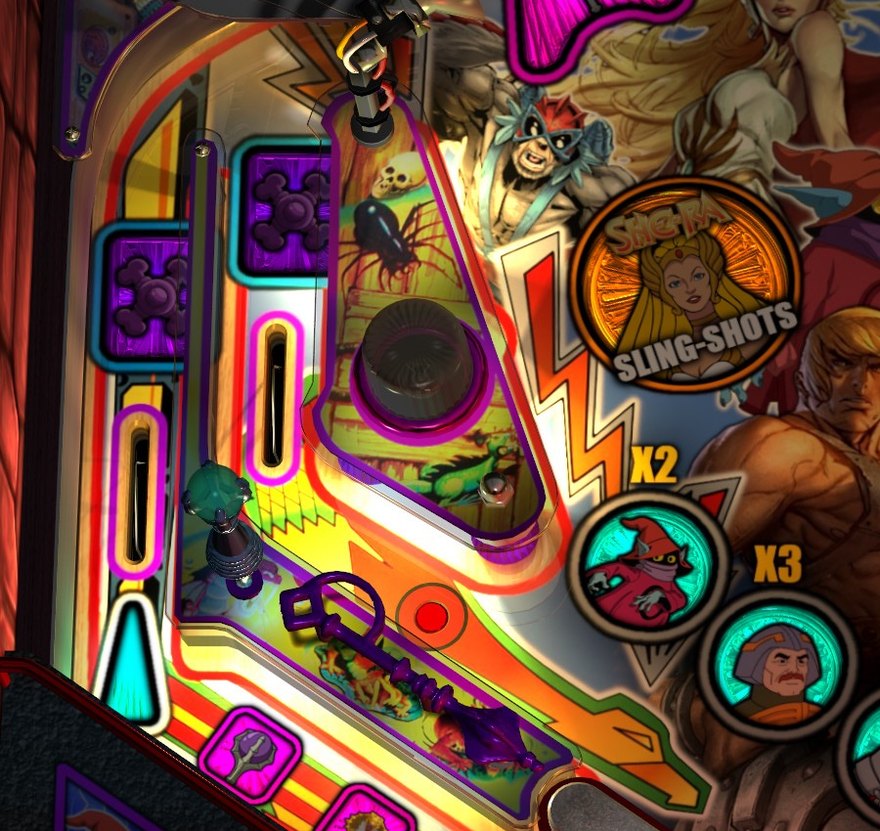
Light all four lamps in the return and outer lanes to increase your end-of-ball bonus multiplier. Tap either flipper button to move the lights before the ball rolls through a lane. When the left kickback light is on, it can return a ball from the outer left lane. Hits on the triangular slingshots above the flippers help start She-Ra Slingshots.
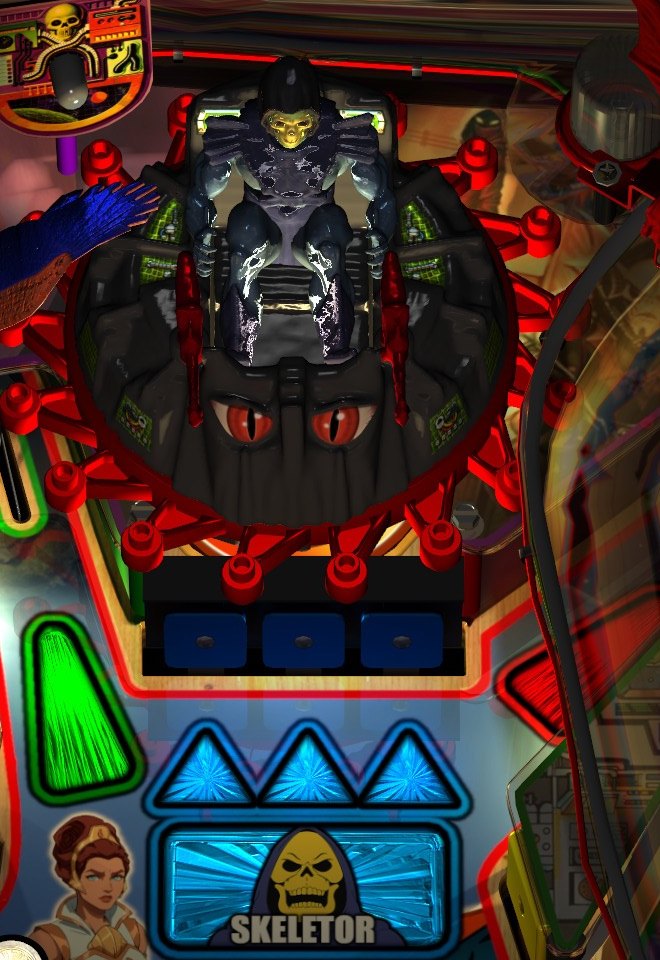
The hole under Skeletor’s Roton vehicle, behind three blue targets at the top center. When those targets drop, shoot into the hole to store a ball for Skeletor multiball or earn a Super Jackpot, depending on what is running. The spinning disc below Skeletor can deflect your ball.
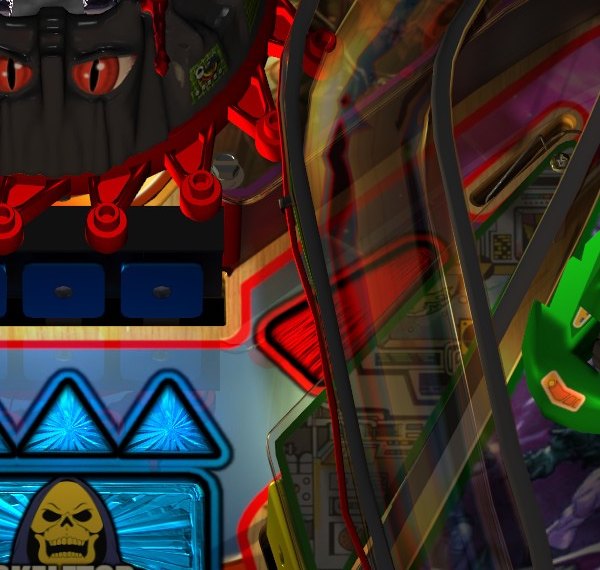
The lane behind the red arrow, just right of the Skeletor targets and under the clear ramps. Shoot here to change the challenge selected at the He-Man kicker. This lane also scores the skill shot, finishes the Evil-Lyn Loop Combo, and helps earn Mekaneck Mystery.
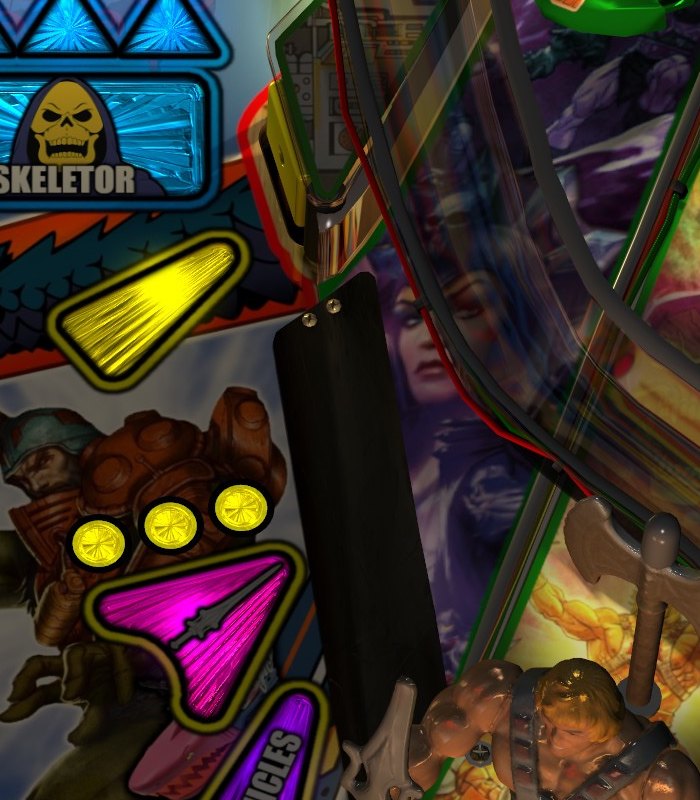
The entrance right of center, behind the pink arrow and three yellow lights. Try it from the left flipper. The separate Ripper ramp target, behind the yellow arrow above the entrance, changes which challenge the ramp will start.
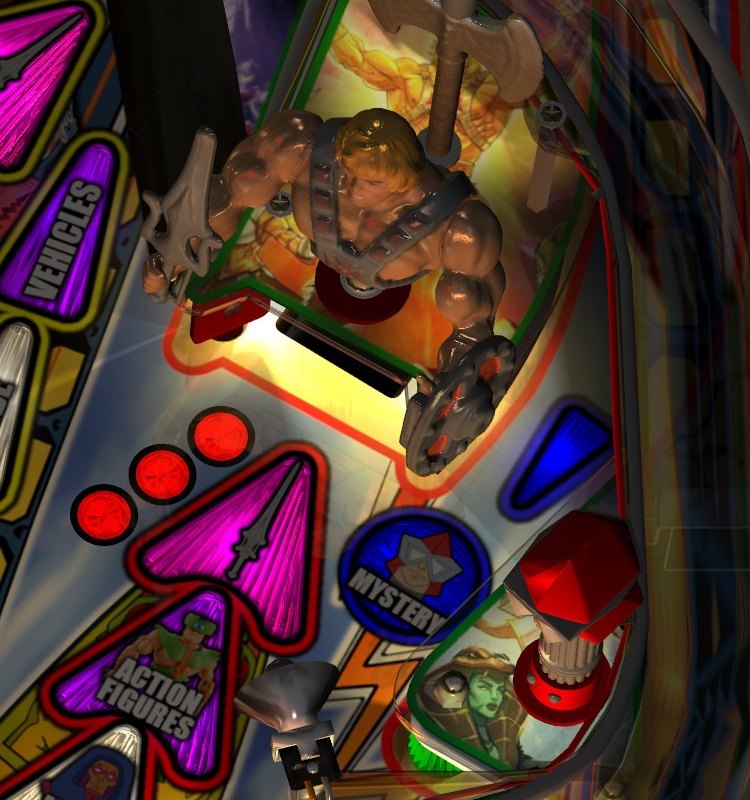
The hole under the He-Man figure on the right. Its selected light tells you whether three shots will start He-Man multiball, open the Man-E Modes menu, or award an action figure. A flashing blue Mystery light means a shot here can also collect a random reward.
TerryRed lets the ball kicked out of this hole bounce toward the left flipper, then catches it. His demonstration of a shot from the right flipper uses a very small flip followed by a shot back up the right side. That timing has not been tested on this cabinet.
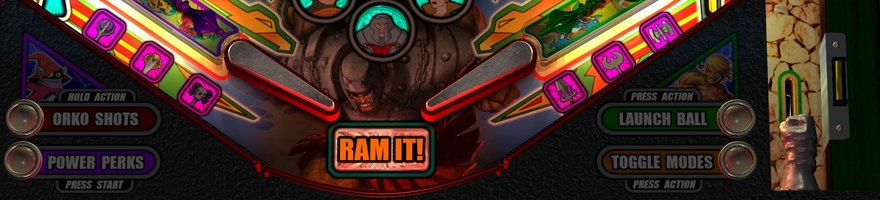
The four lights along the bottom edge show which button you can use. Green Launch Ball: press the plunger button. Orange Toggle Modes: tap that button to change challenges. Cyan Orko Shots: hold it for half a second to have Orko catch and redirect the ball. Magenta Power Perks: press Start to choose a saved reward.
The rules call the plunger button Action. TerryRed also assigns it to Special 2, normally the right magna-save button. Use whichever control is mapped to Action on your setup.
Before launching, watch the changing Launch Perk on the castle mirror or score display. Press the plunger button when the reward you want appears. All Shots Unlocked skips the two opening hits on each main shot; a reward marked Ready skips the preparation for the named feature.
After launch, the upper right loop and Ripper ramp target flash blue for a short time. Make the upper right loop for the 2,000,000-point skill shot. Hitting the Ripper ramp target instead gives a smaller consolation award. The time allowed depends on the table settings.


After earning a playset, try Castle multiball: it uses three balls, compared with Skeletor’s nine. Its four jackpots and final Skeletor kicker shots teach the sequence used by all four multiballs.
The named lights below each main shot show its selected challenge. The three small round lights at the entrance count your hits toward starting it. Make two hits to make the challenge’s light flash, then a third to begin. All three round lights stay on after you complete that challenge.
Change this selection by shooting the upper left loop.
Change this selection by shooting the Ripper ramp target.
Change this selection by shooting the upper right loop.
All four play the same way:
No way to add a ball or restart a failed multiball is documented.
When no challenge is running, hits on the slingshots eventually make the She-Ra light flash. One more hit starts the timer. Shoot both ramps, the He-Man kicker, and the bumpers until all four jackpots are awarded. Then shoot the Skeletor kicker before time expires to win the She-Ra toy.
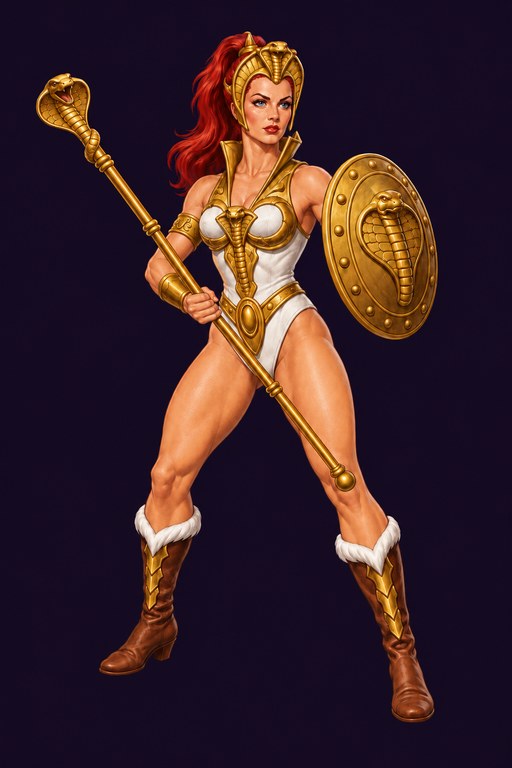
When no challenge is running, make the left orbit three times until Teela’s light flashes, then once more to start. Make the flashing shot, then hit the Skeletor targets while Teela’s back is turned. Repeat until the targets drop; shoot the Skeletor kicker to finish and win a toy.
Select the Zoar light below the Castle ramp, then make three ramp shots to start the timer. Follow the flashing shots, including repeated bumper hits, before time expires to win Zoar. The flipper buttons temporarily control the opposite flippers during this challenge, then switch back without warning.
Select the Horde light below the Ripper ramp, then make three ramp shots to start the timer. Follow the flashing shots before time expires to win Hordak. A shot marked red does not count and deducts points. Wait for that light to change before aiming there.
Losing the ball or running out of time ends She-Ra, Sorceress and Hordak without completion. Teela’s ending conditions are not explained in the rules guide.
Man-E Modes is a menu of eight additional challenges. Enable the He-Man kicker, select the Man-E Modes light below it, and shoot into the hole three times. Use the flipper buttons to choose from the menu, then press the plunger button to begin.
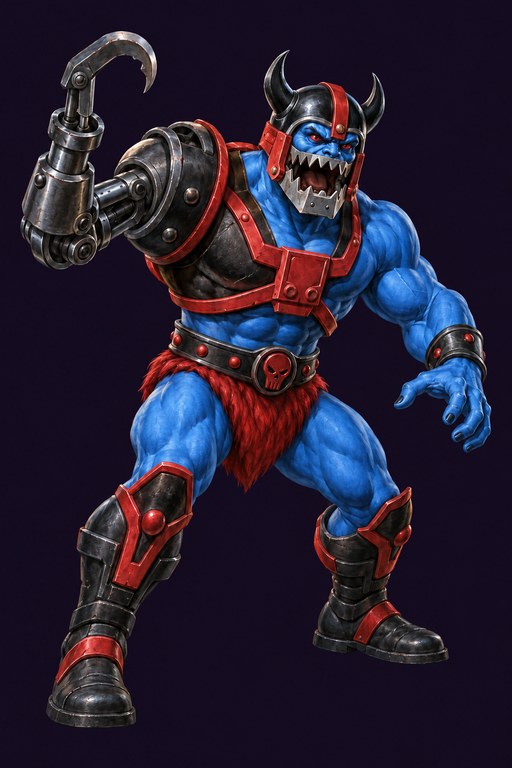
Most use the BumperHead, the rotating character toy that rises beside the bumpers. It can trap the ball and fire it elsewhere. Follow the flashing shots until the toy itself is lit; shooting it early may only trap and redirect the ball.
Only Orko’s Outta Here is explicitly described as timed. The other seven challenges’ failure conditions are not fully documented. Completed challenges cannot be replayed; after all eight are completed, this menu is no longer available.
If blue Mystery is flashing while you are also working toward a challenge at the He-Man kicker, the rules do not explain which takes priority. Watch the display after the shot.
Settings can change the opening hit count, launch-reward speed, timed shot windows, and the bumper or slingshot hits needed for BattleCat and She-Ra.
Launch rewards and Mekaneck Mystery can also add Orko Shots while you have fewer than ten. Power Perks can add more even above ten. Orko Shots are unavailable while the Power Perks menu is open.

You can receive an extra ball from a Launch Perk, Mekaneck Mystery, or some Power Perks. TerryRed’s gameplay video shows the Battle Axe perk adding one. Launch and Mystery menus stop offering extra balls when the game’s allowance has been reached; the guide does not give that limit.
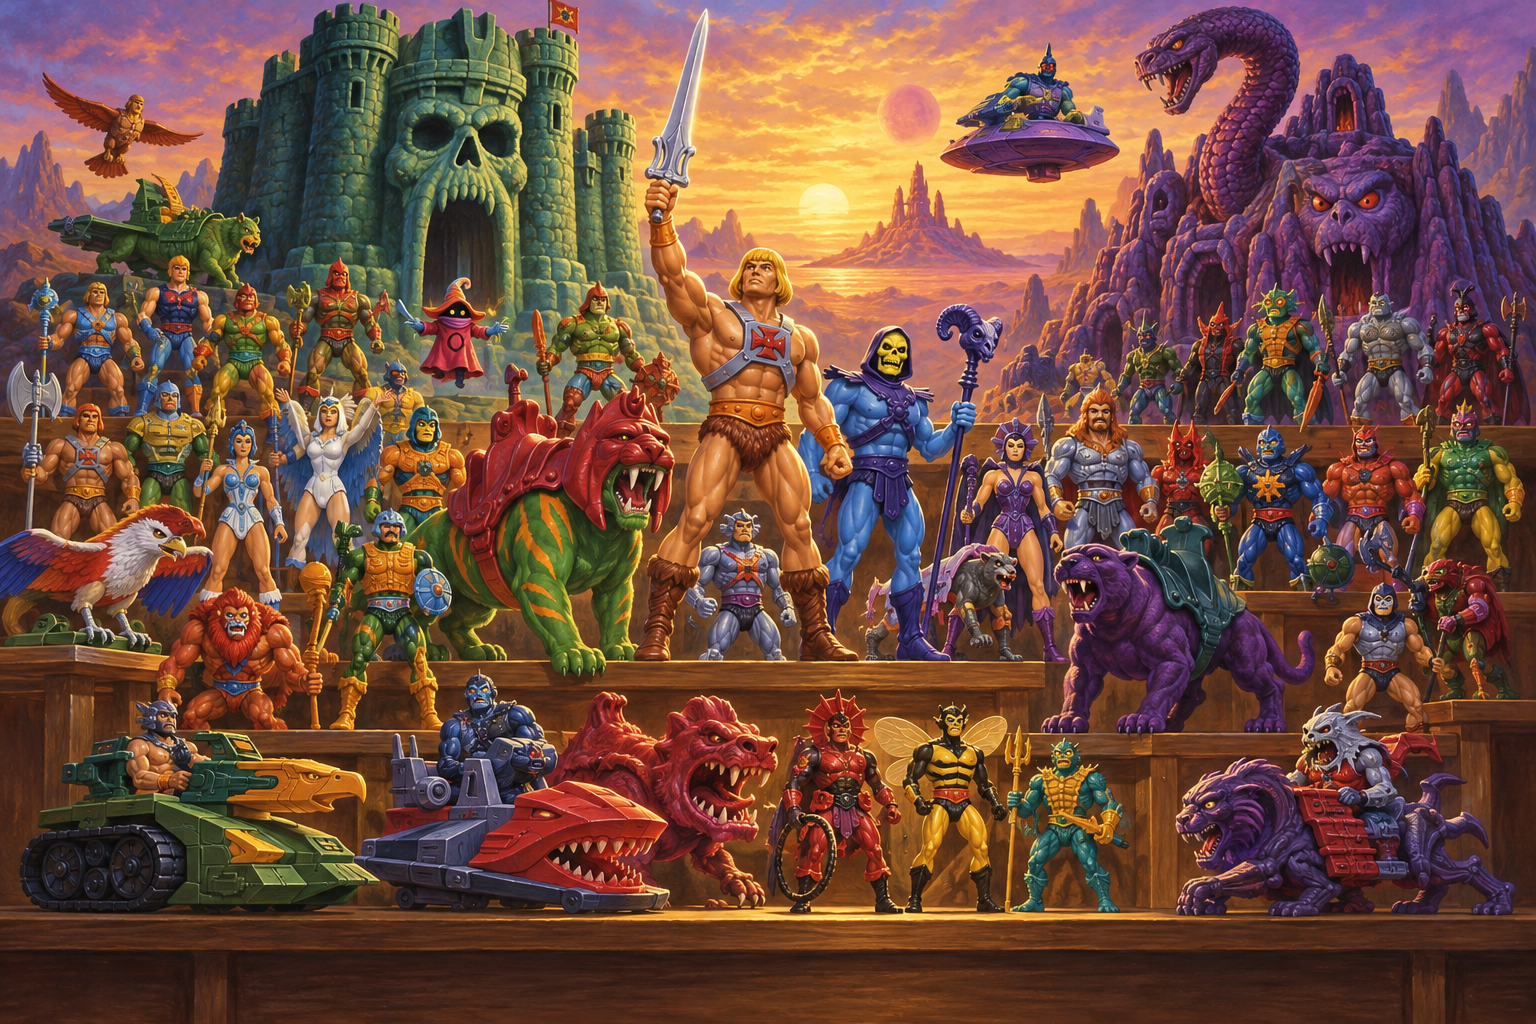
Collecting the 46th toy ends your game immediately, even with balls left. After the ending sequence, you receive:
The 16 challenges award 16 toys, and repeated bumper hits and Ram Man saves award two more. To reach 46, also use the Playset, Vehicle and Action Figure selections at the three main shots, plus Mekaneck Mystery. In multiplayer, the other players continue after you finish.
At game end, trade your collected toys for extra points on that score or one Power Perk: a reward saved for a later game. When the magenta Power Perks light is on during play, press Start. Choose a reward with the flipper buttons, then press the plunger button to use it.
This is a suggested learning order. The rules do not give the jackpot values needed to compare every scoring route.
This guide follows version 1.41 (April 2026) of TerryRed's Collector's Edition, a rebuild of Rom's 2013 table, using his rules guide and table manual. It is not installed on the cabinet yet.
Hit counts, timing windows and button names are TerryRed's defaults and can be changed. TerryRed's video advice has not been checked on this cabinet.